Project Overview
Welcome to the BotBye Project Overview! Let's delve into the data within your project and explore what you can uncover on this page.
Here you can see all the information about your project, not only related to incoming requests to the endpoint. There is quite a lot of functionality and settings on this page, so let's go through them step by step.
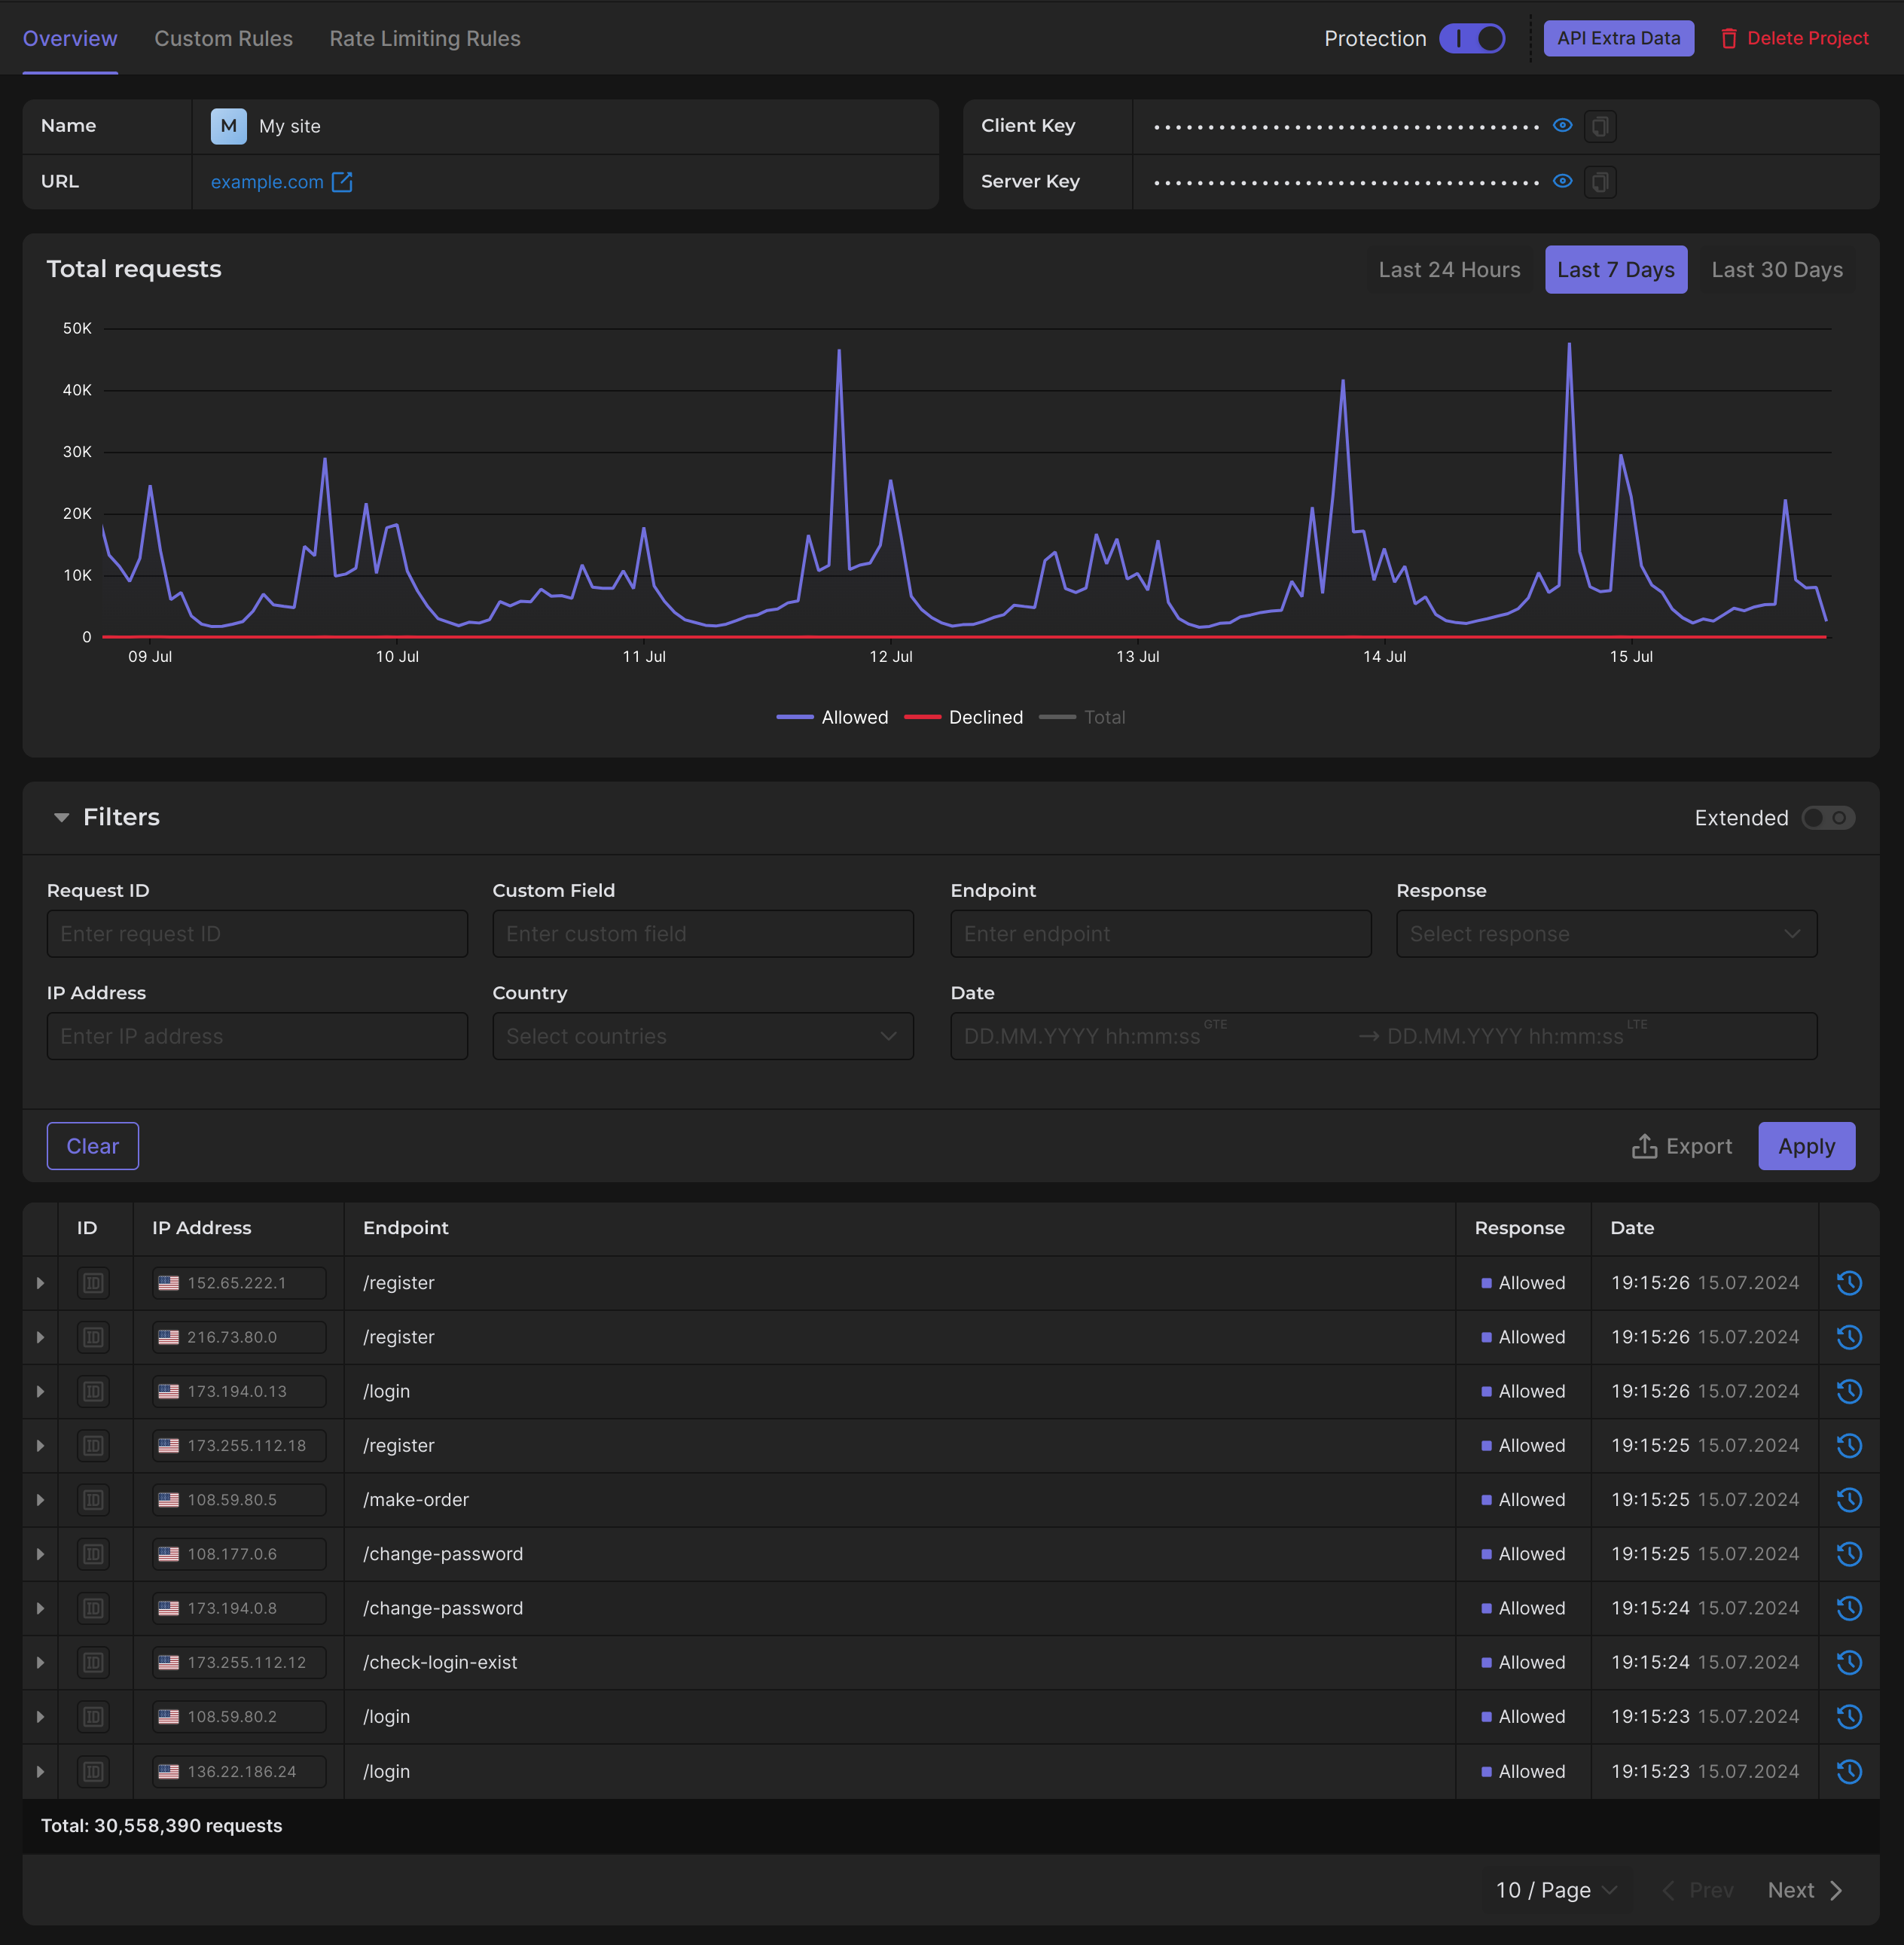
Take note that the key project settings, whether it's enabling protection, deleting the project, or configuring custom rules & rate limiting rules, are found in the header. By switching tabs, you will customize your project to suit your specific requirements.

Requests
There are plenty of filters available to ensure that the requests you are looking for are displayed in the table.
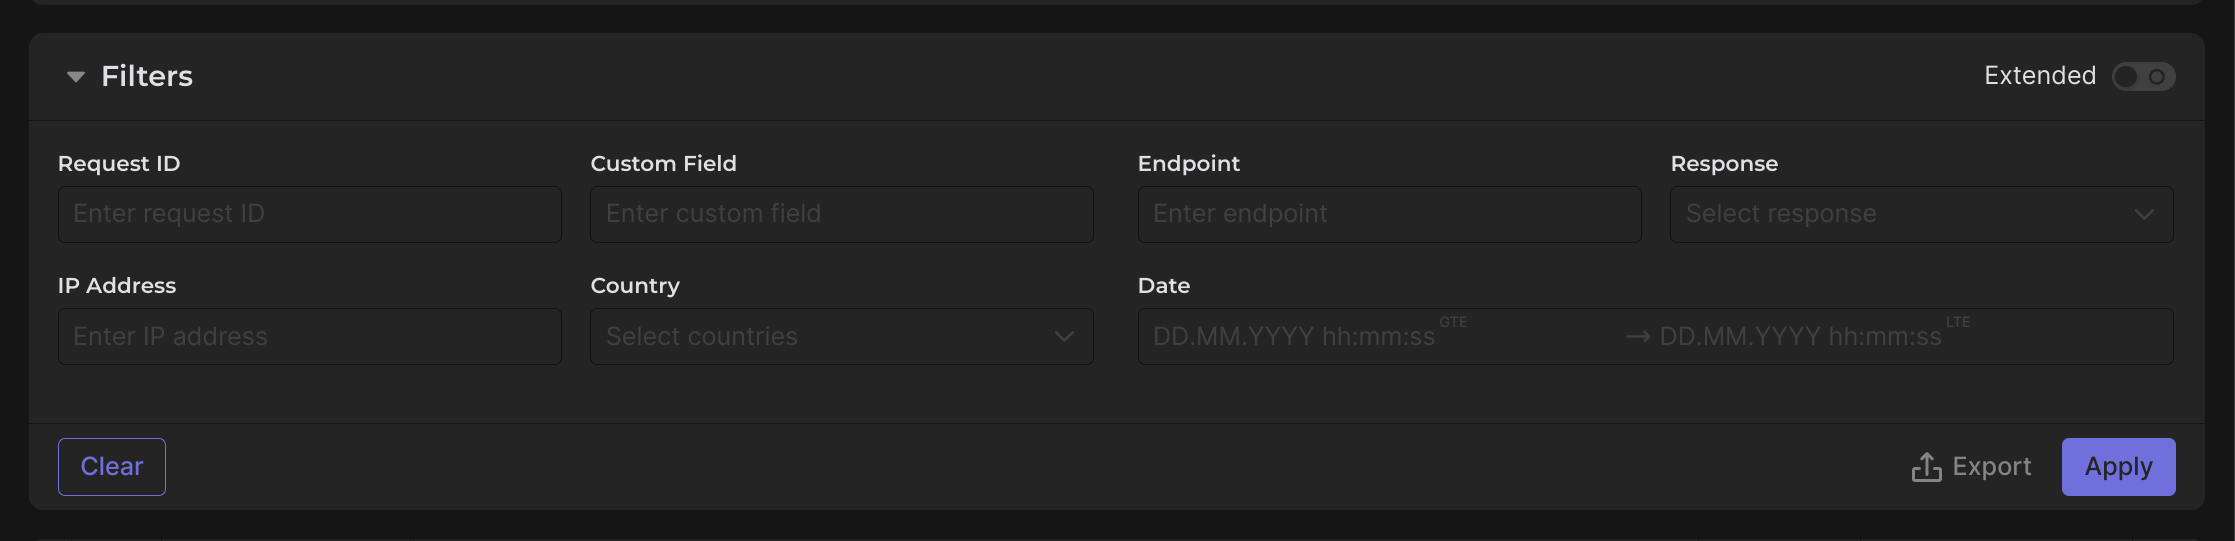
However, if you feel that there are not enough filters or you can't find a suitable one, simply click on the "extended" switch and create your own filter.
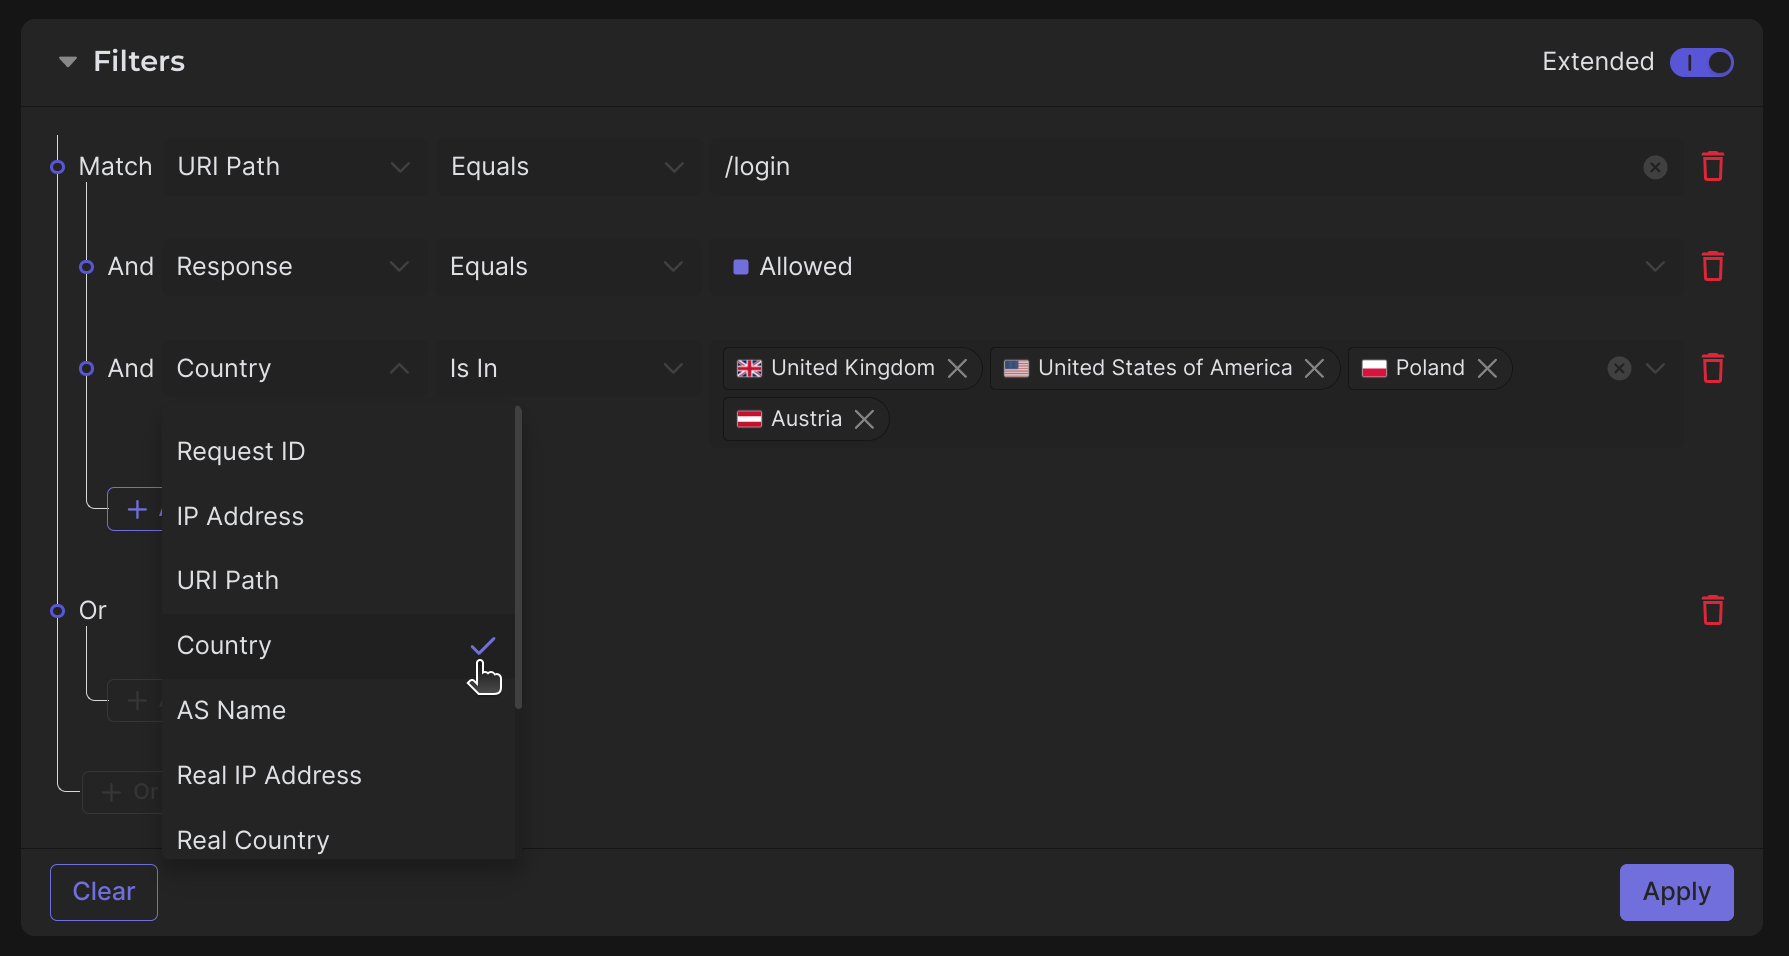
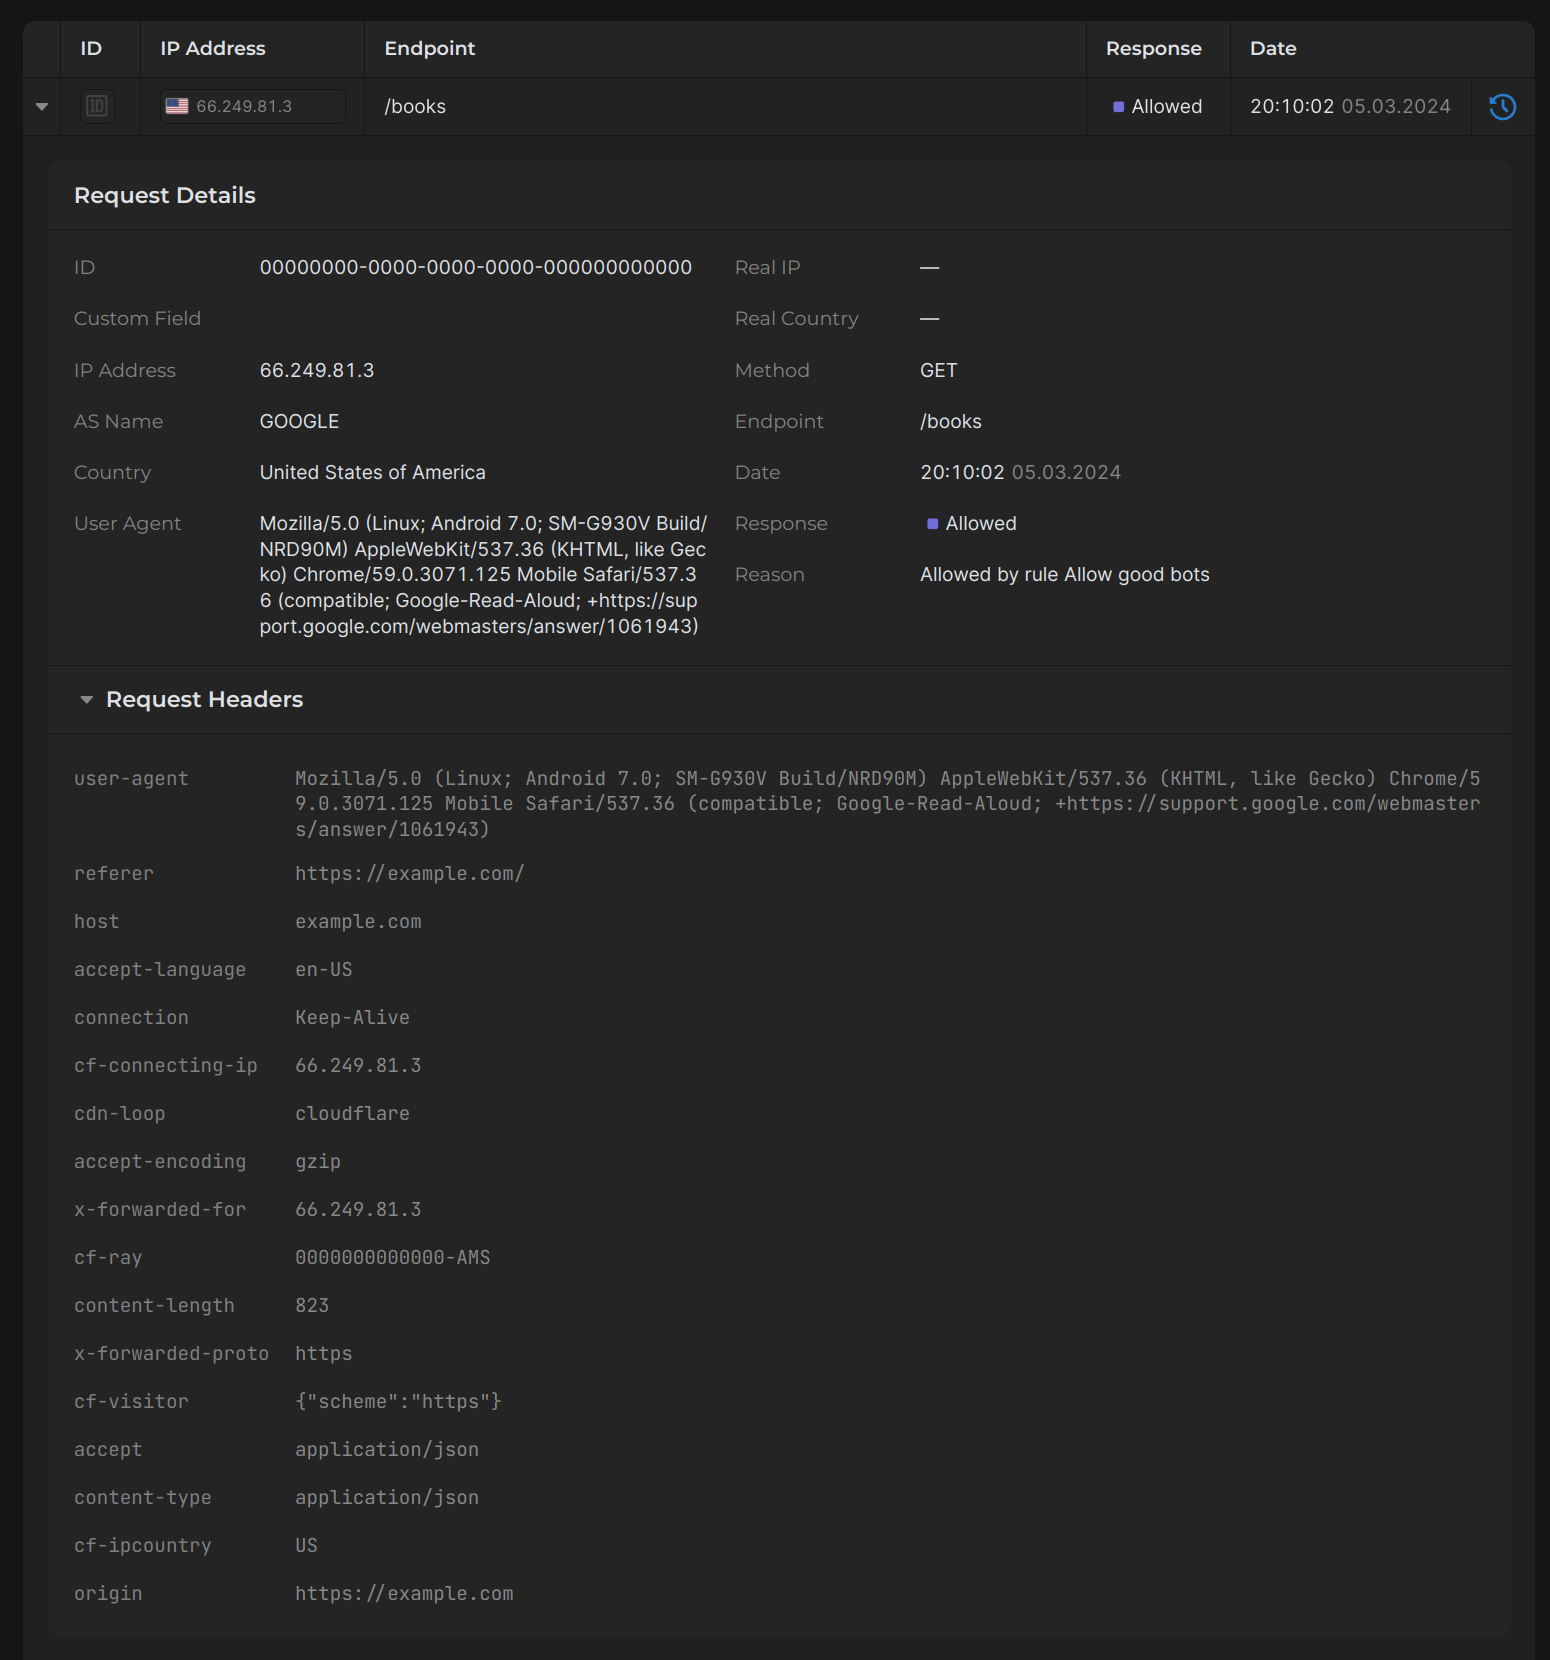
You can view various aspects of information about the incoming requests to the endpoint, including the sender's IP address, URL to which the request was made, request headers, ASN, Country. This allows you to track, analyze, and control the flow of requests to your endpoint.
Sessions
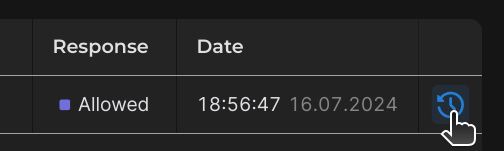
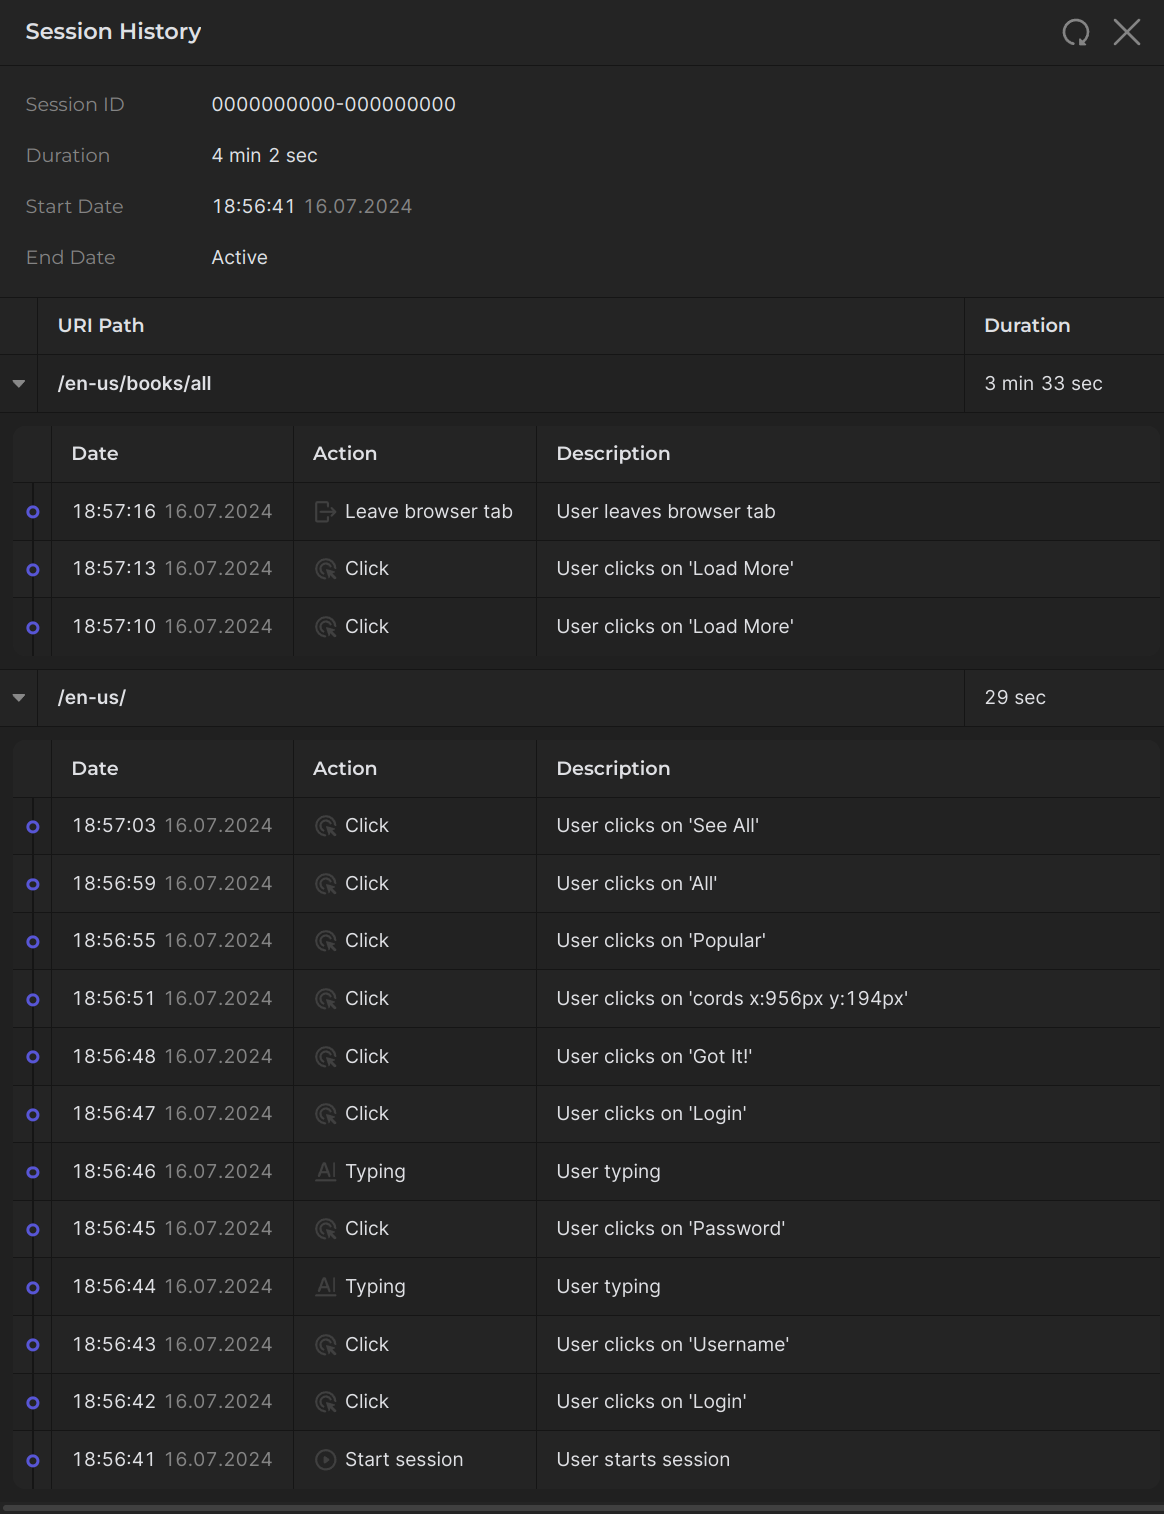
By clicking the Session History button, you can explore the real-time user session from which the request was created.
Custom Rules
Let's delve into the custom rules configuration. This setting is crucial, so let's focus on it in more detail. Here, you can create new rules and adjust existing ones to determine how the protection will function, specifying the criteria for blocking or allowing requests.
In the table of your custom rules, you can see the main action of each rule, specifically, the outcome of its activation (allow or block request), as well as whether it is enabled at all. Additionally, there are other actions available such as editing and deleting the rule.
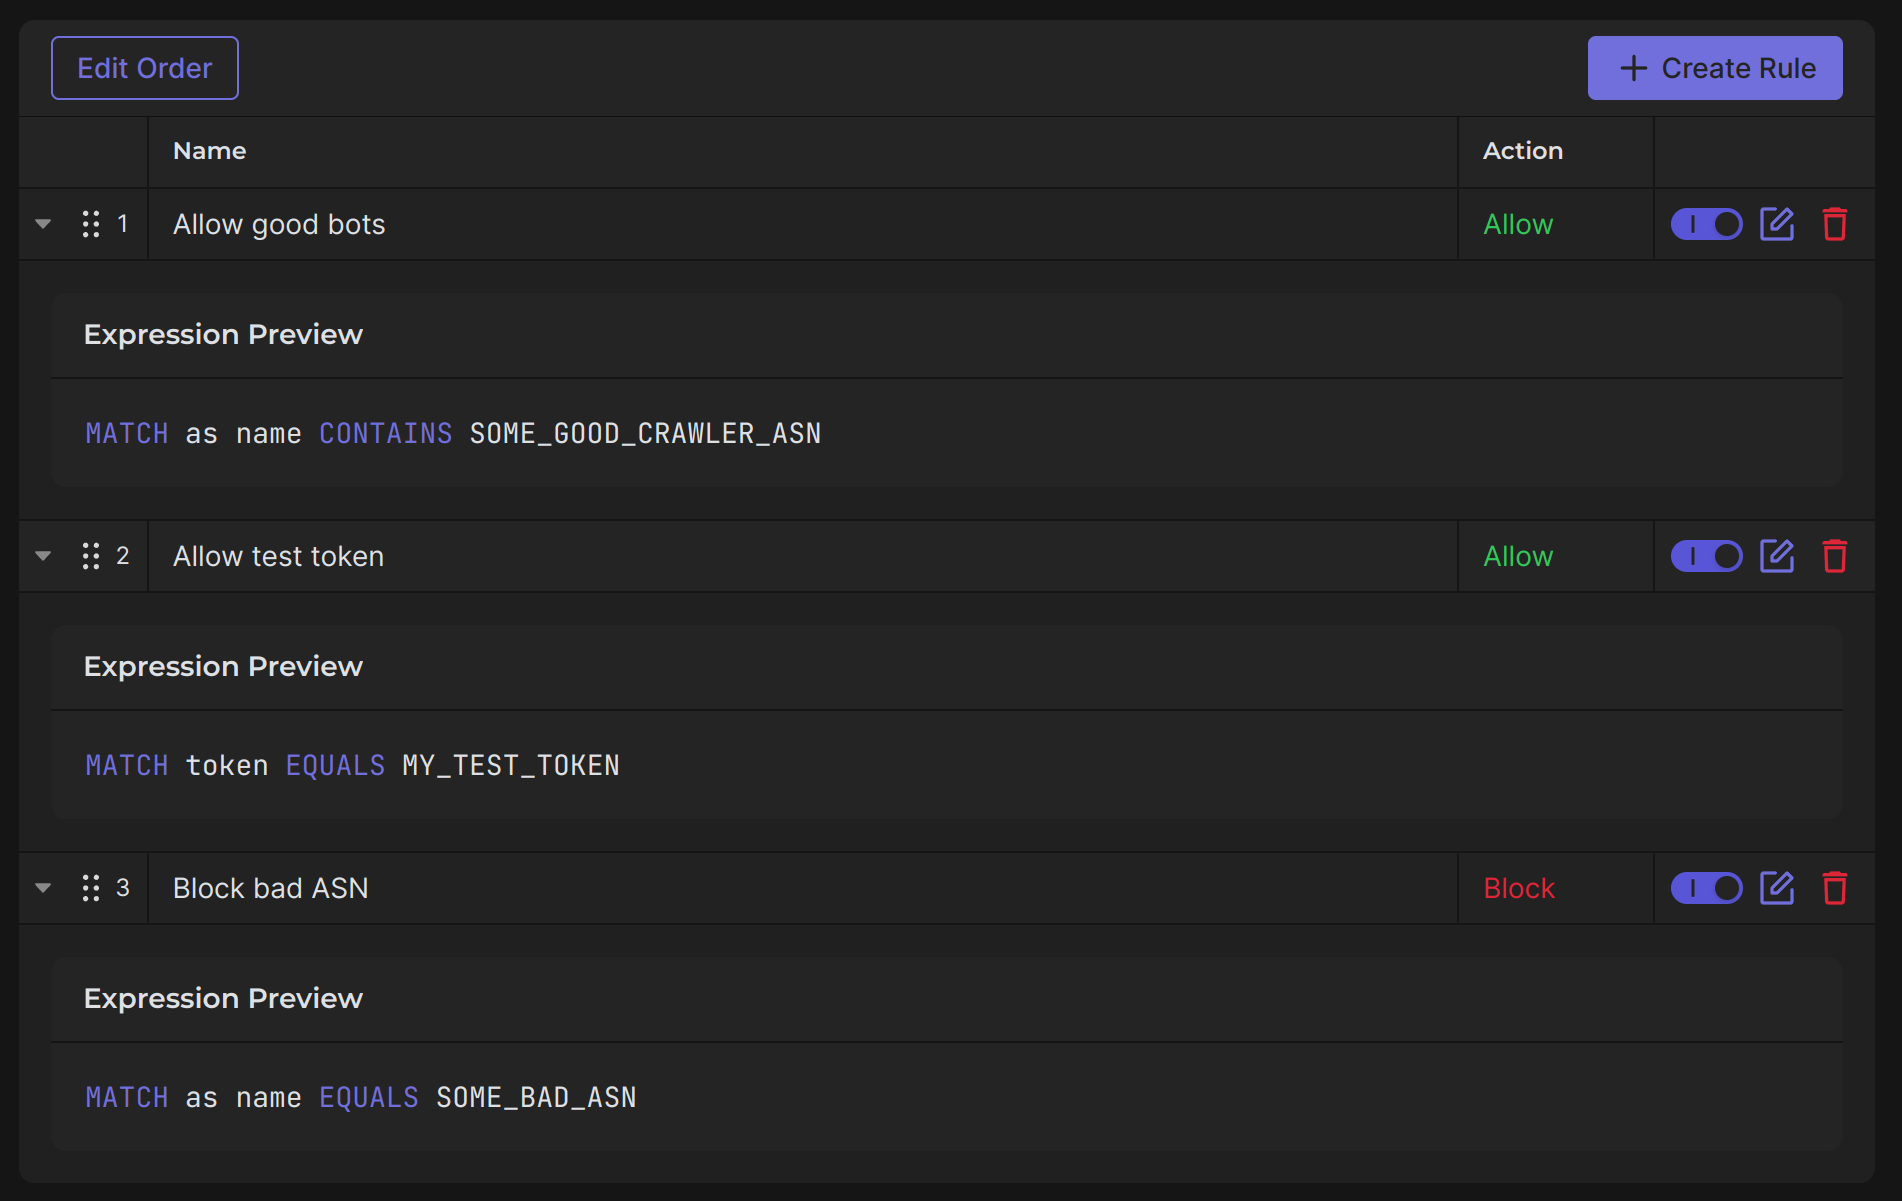
You can also adjust their order, which directly influences the priority of the rules. In other words, a rule placed higher will always take precedence over a rule placed lower. If two rules contradict each other instead of complementing each other, the higher rule will take effect, even if the lower rule is enabled. For example, in a case like the one shown in the image above, if a request with SOME_BAD_ASN includes MY_TEST_TOKEN, the request will be ALLOWED.
But if we swap rules "Allow test token" and "Block bad ASN", the same request will be DECLINED by rule Block bad ASN:

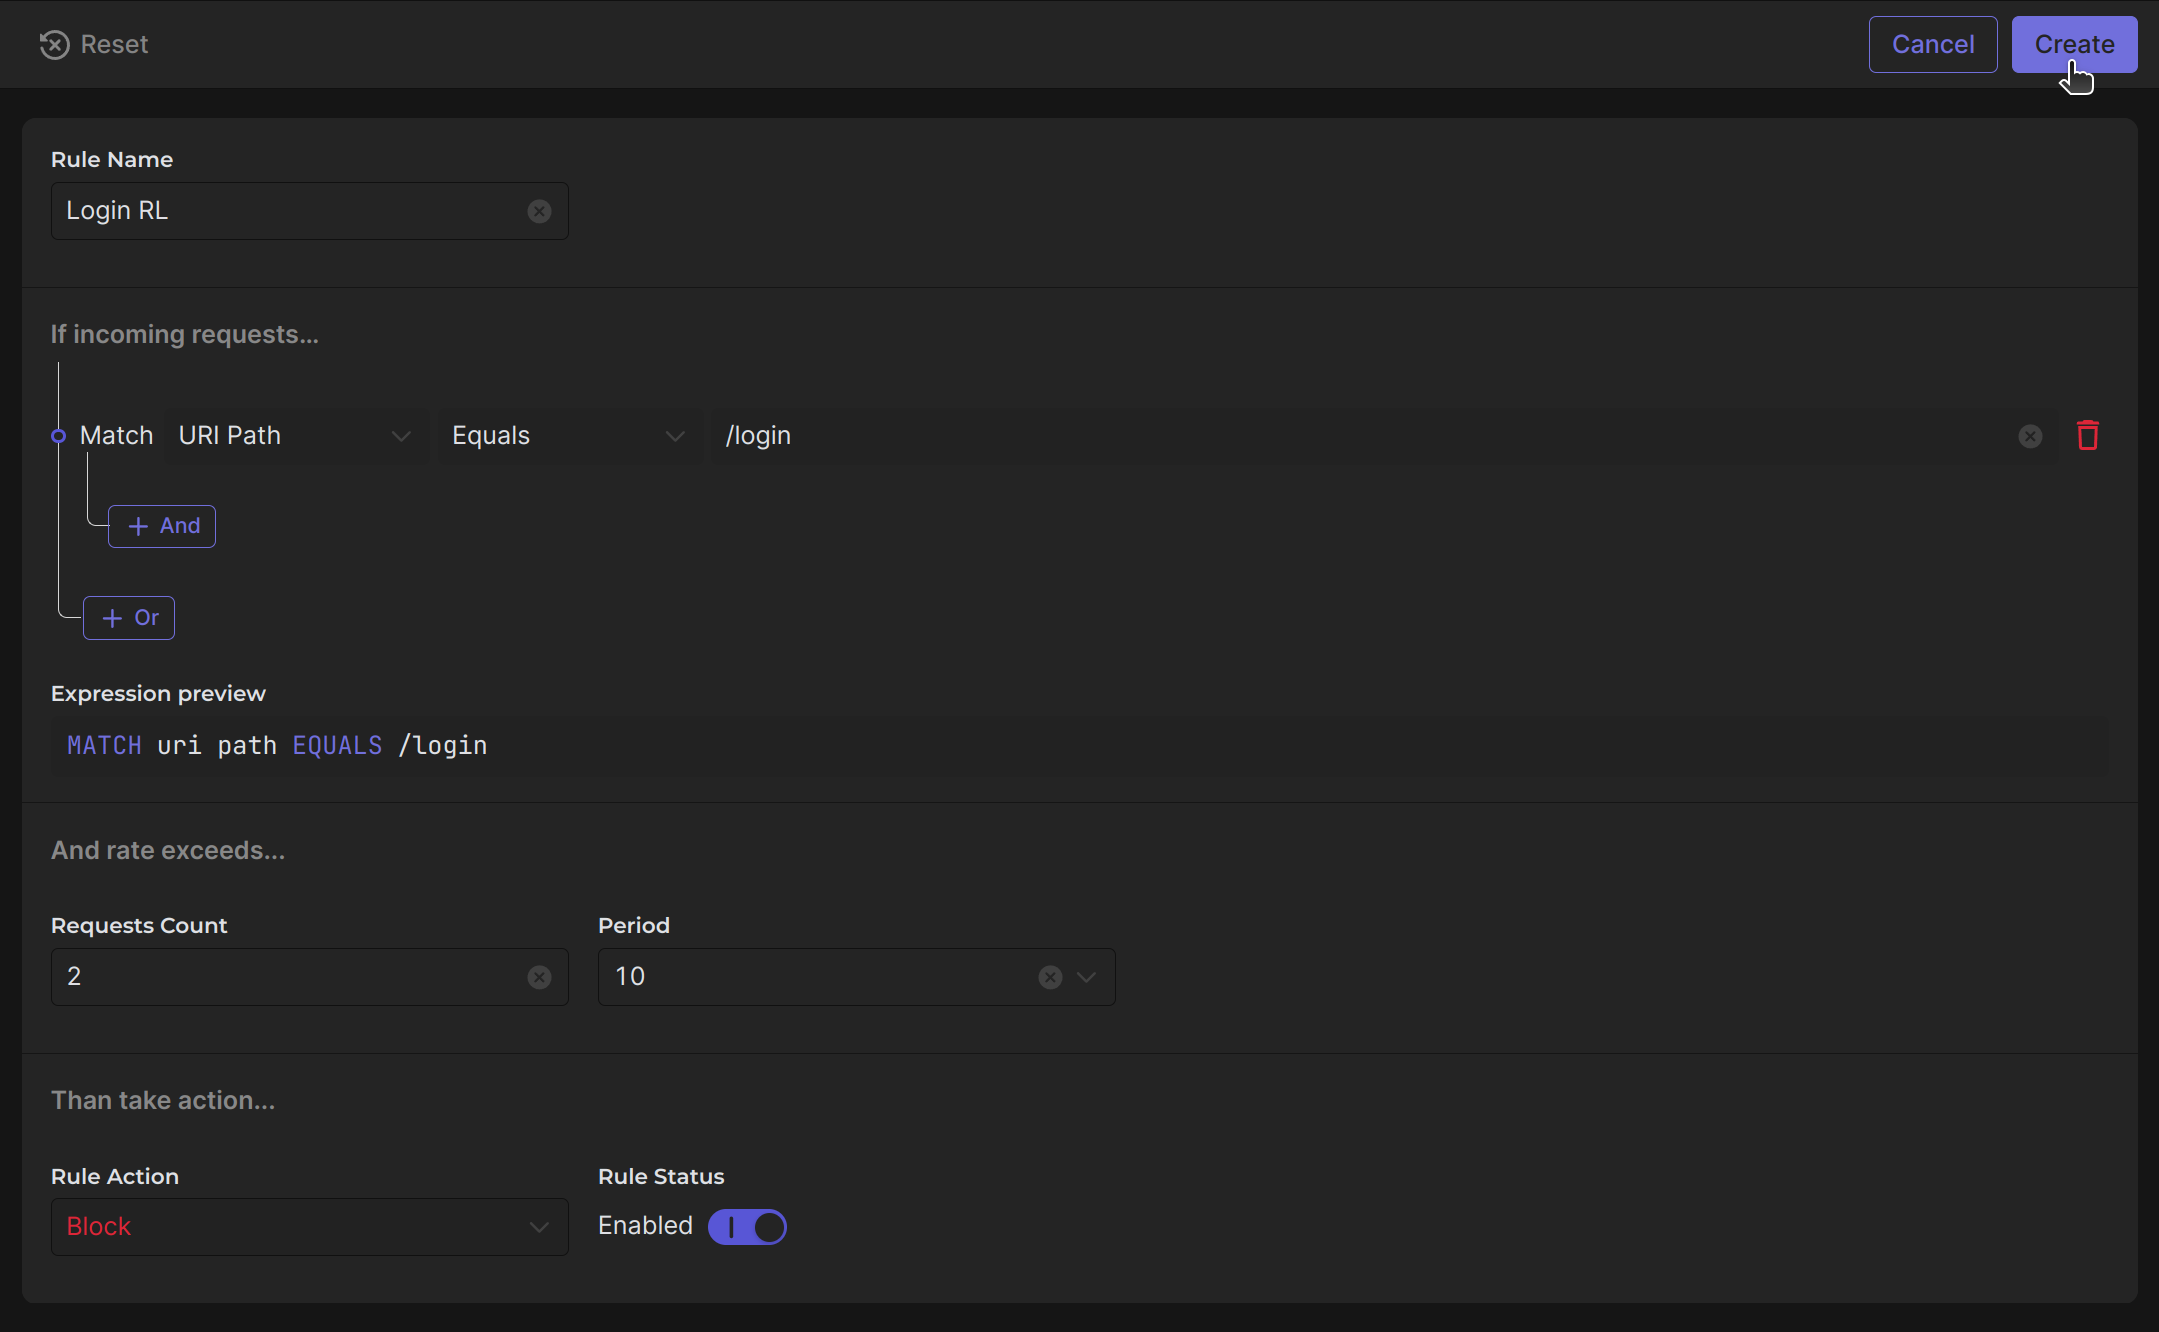
Creating rule
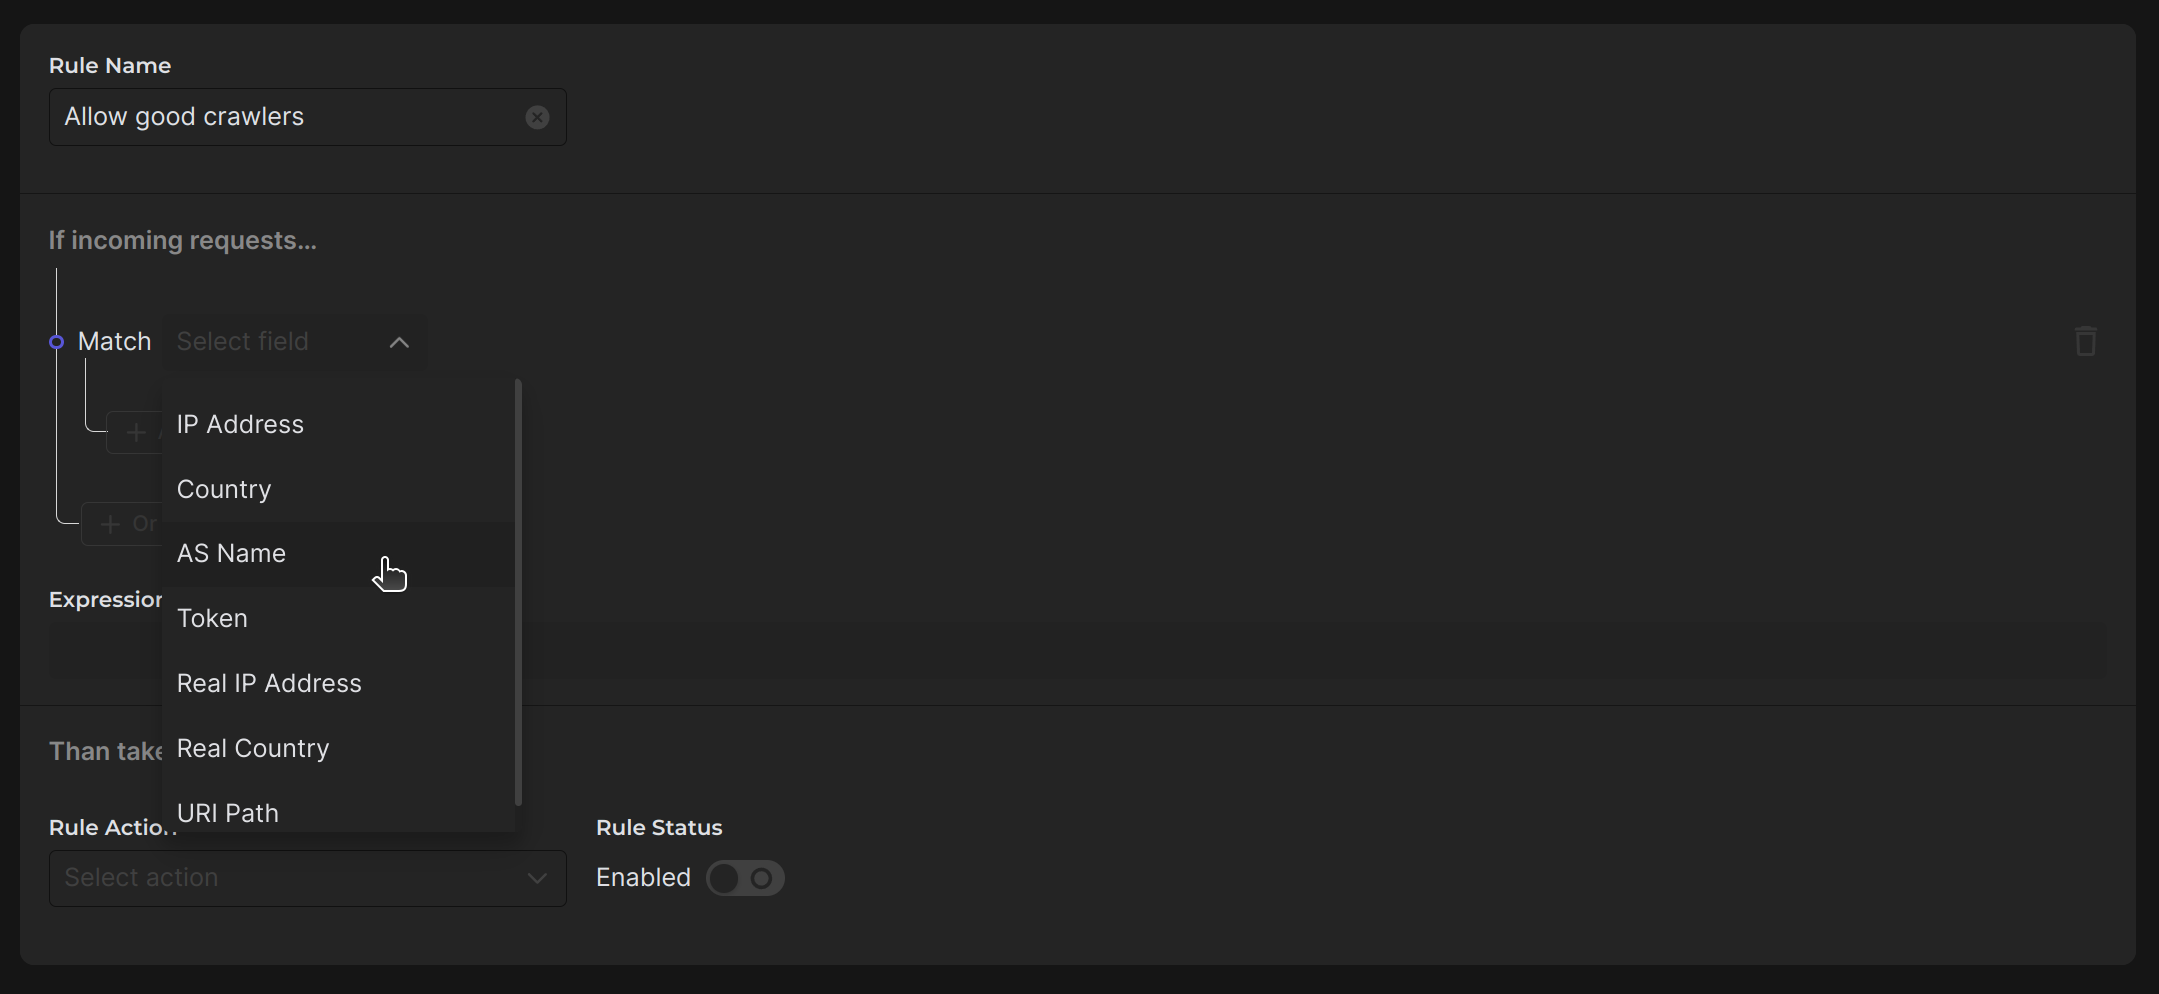
Let's try creating a simple custom rule, the result of which will be to allow the request. For example, allow Google and Yandex crawlers.
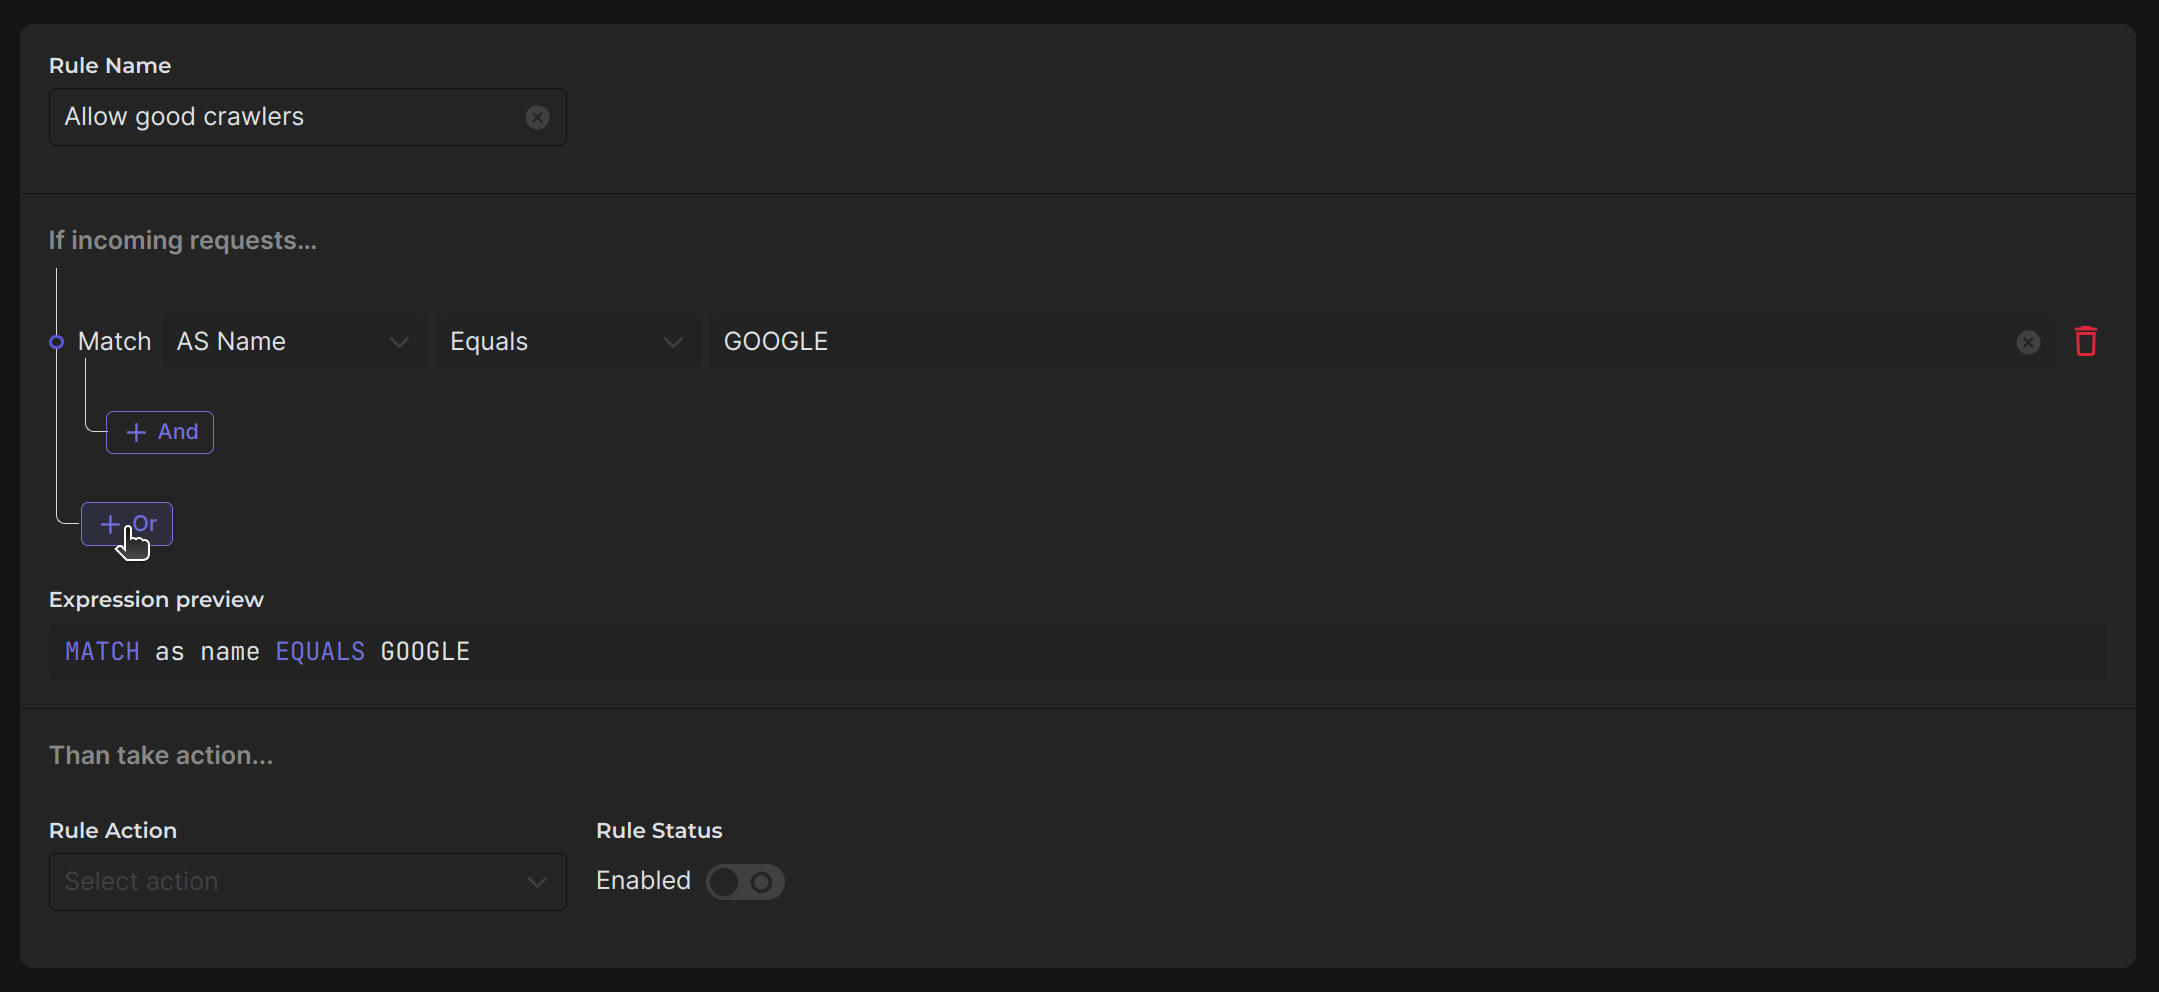
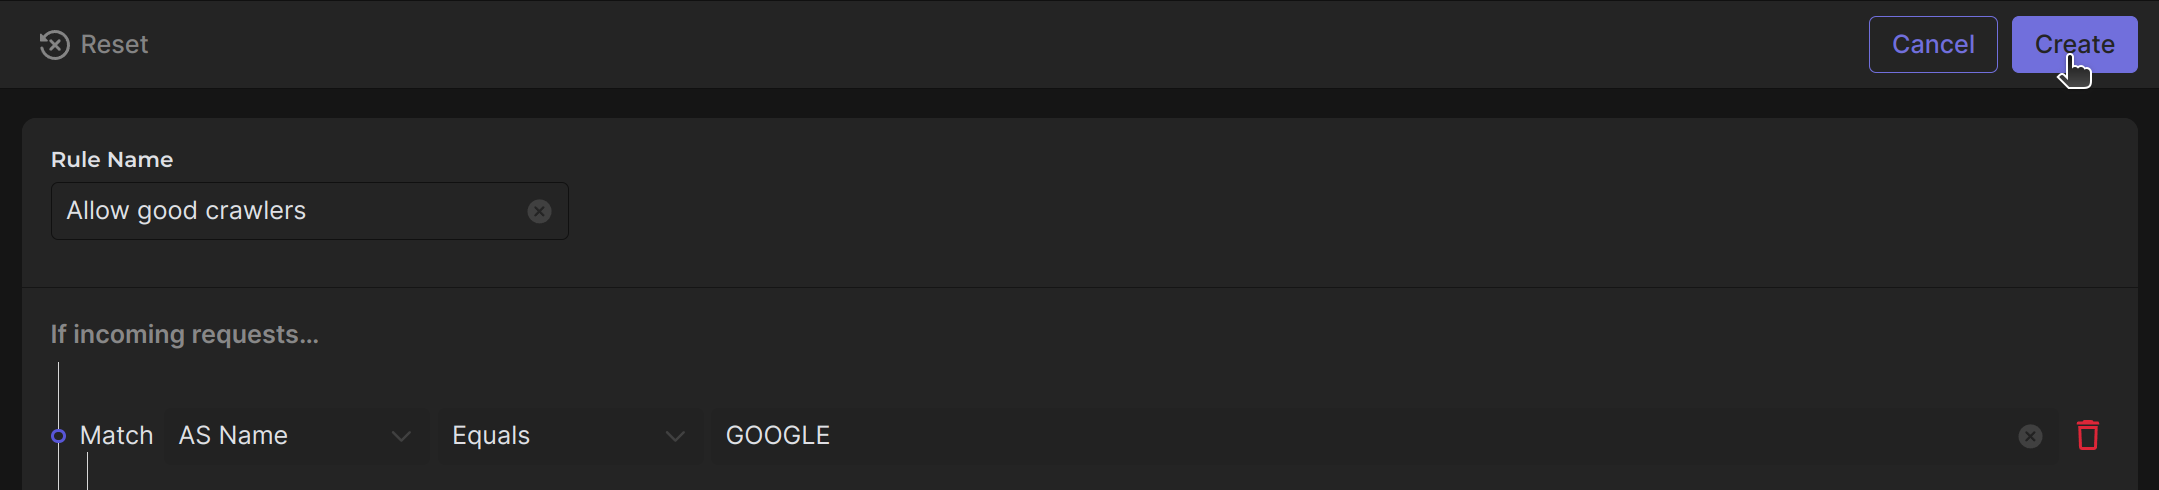
First, choose a descriptive name for the rule so you understand its purpose. Then, begin assembling it part by part, bringing it to a logical conclusion.
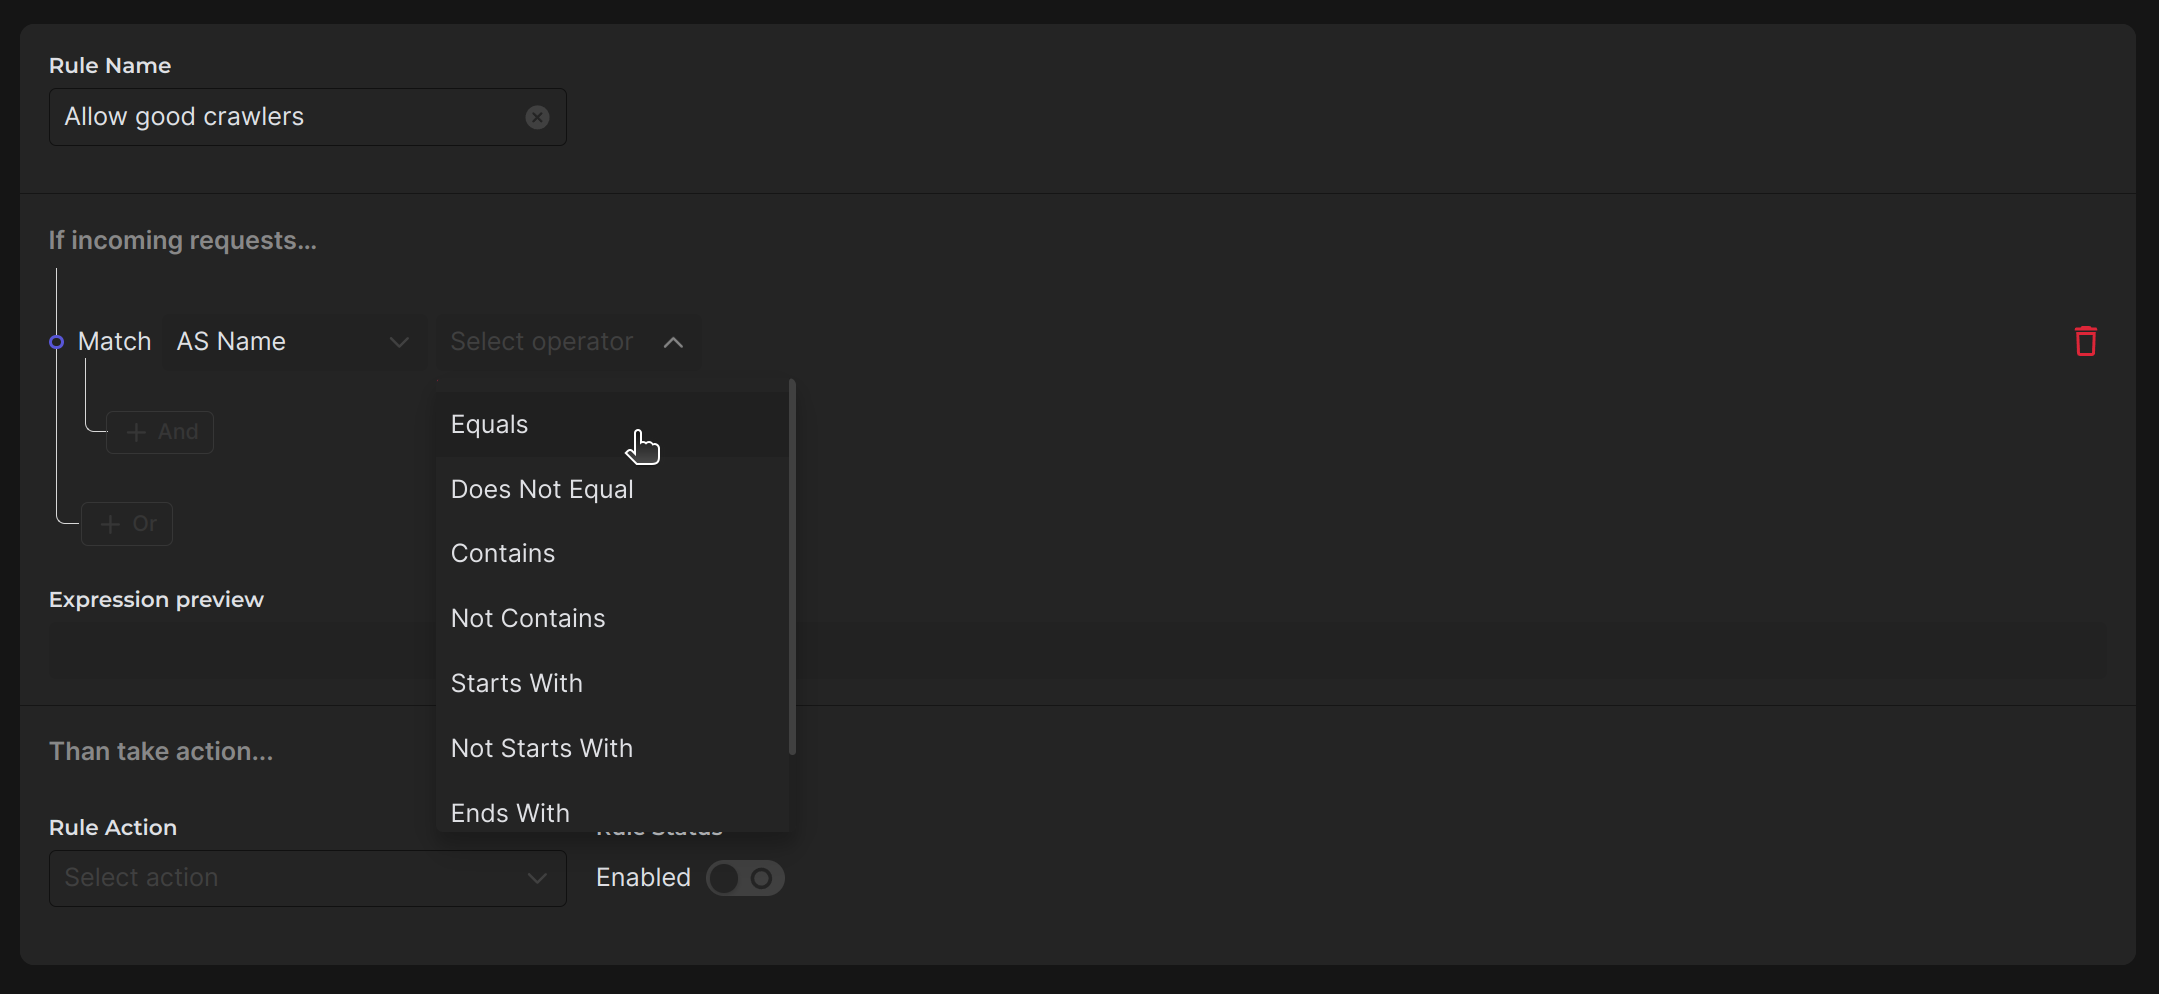
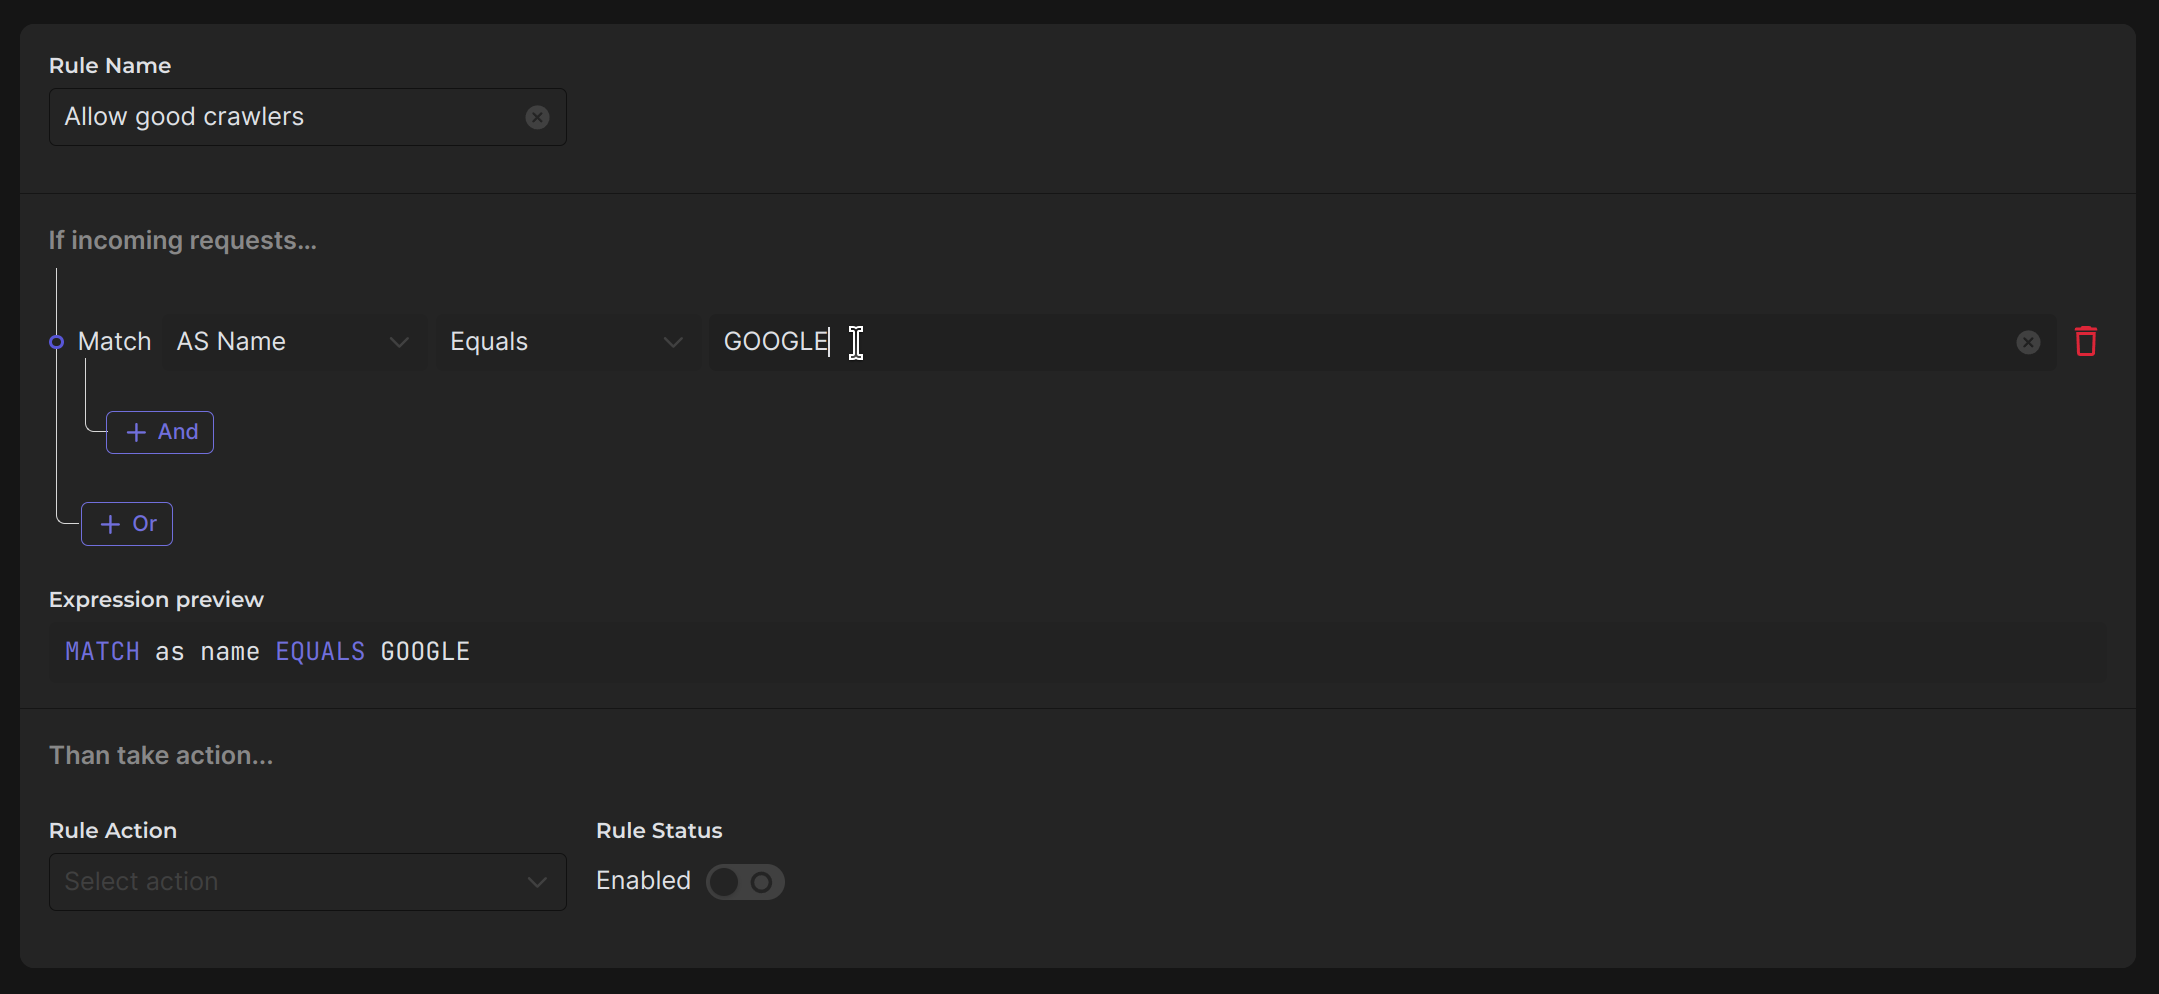
As first condition add detecting Google crawlers using "GOOGLE" ASN:
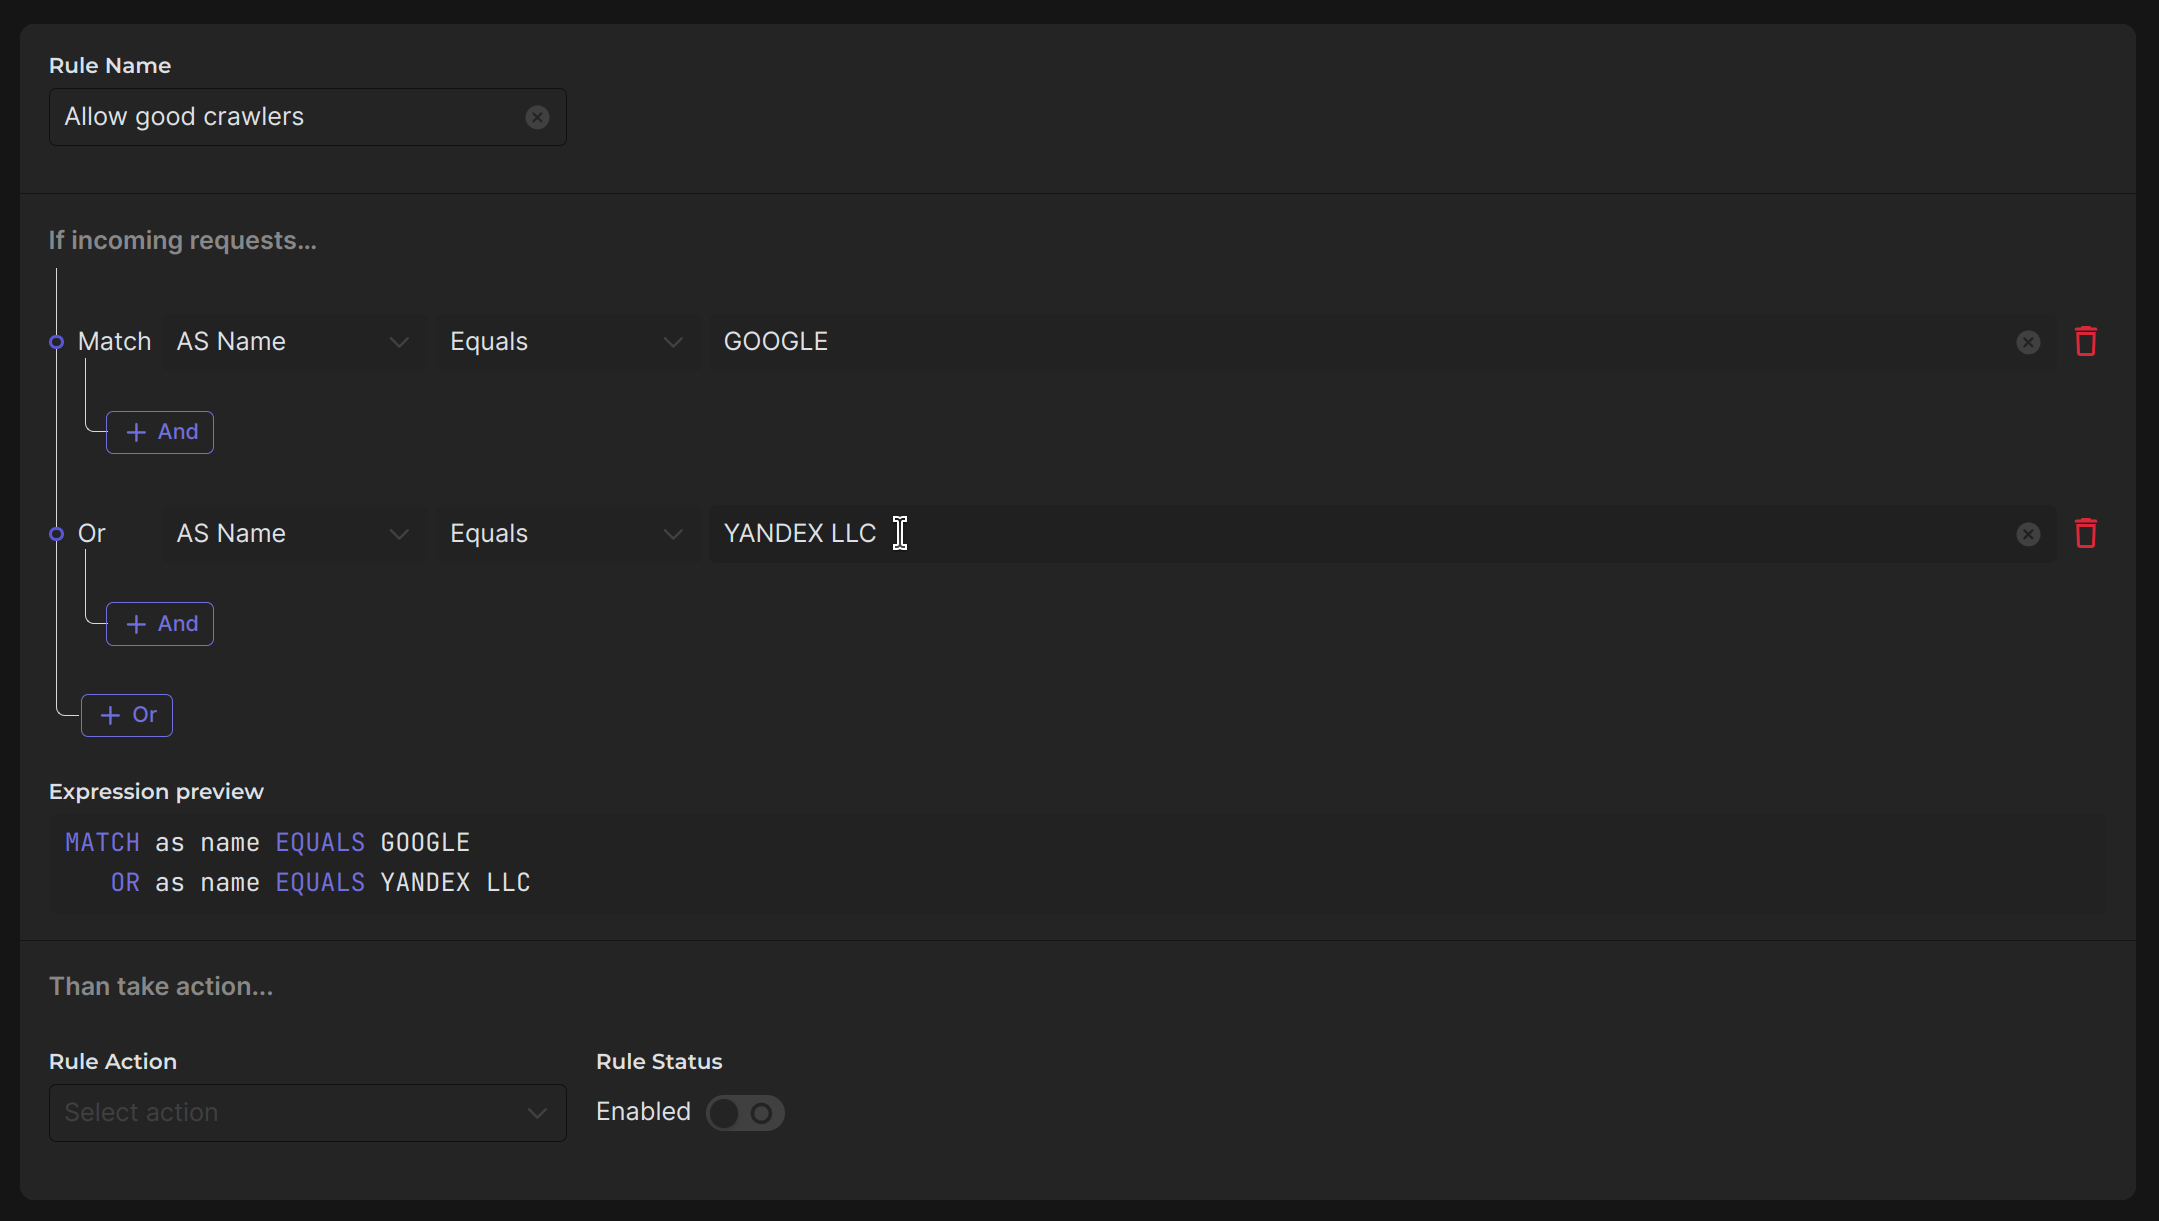
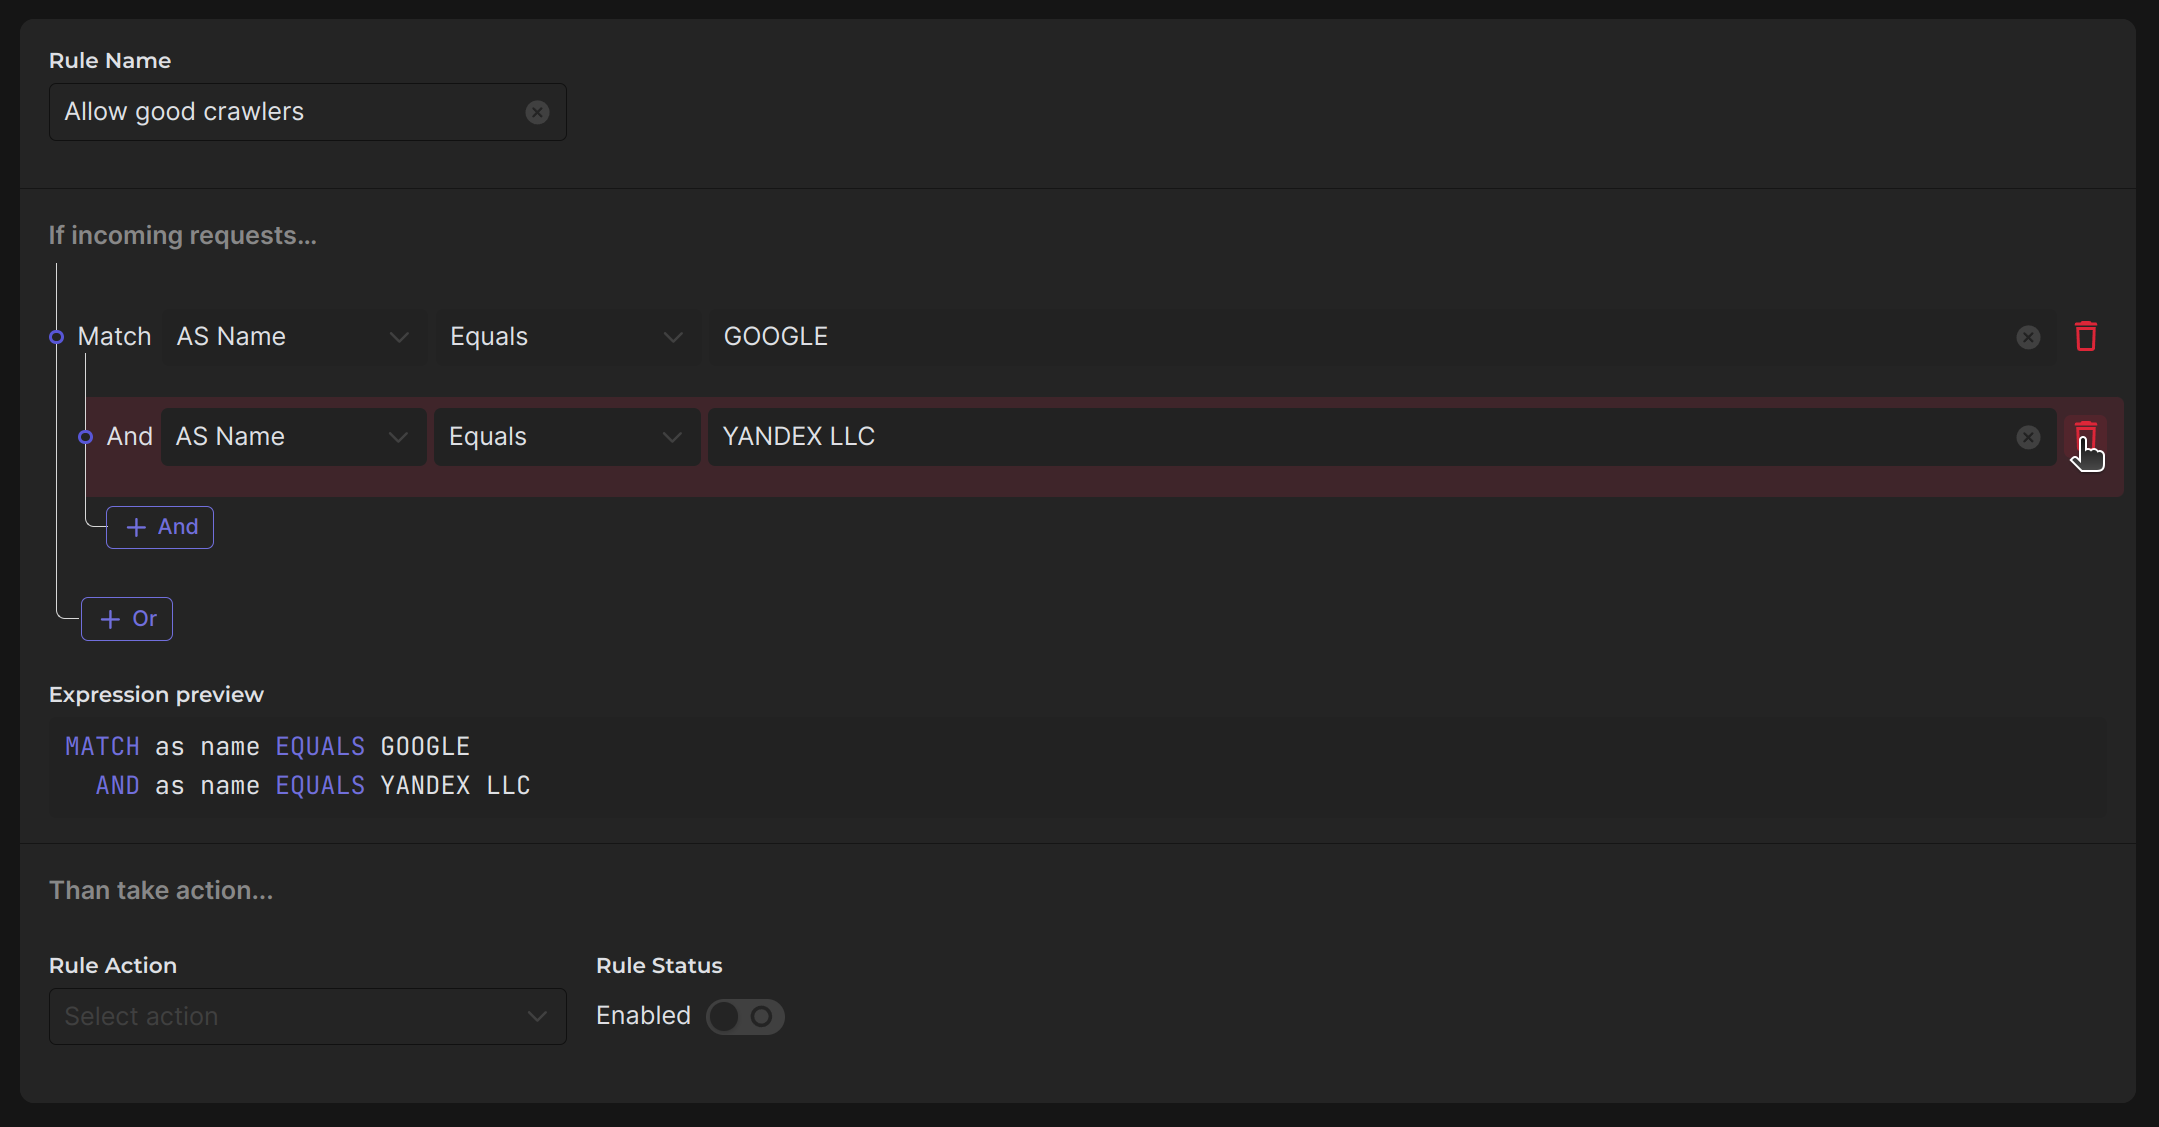
Now add detecting Yandex crawlers using "YANDEX LLC" ASN using OR operator:
It's important to set the rule action at the bottom. If you want the rule to be immediately enabled, just click on the switch. The Expression preview will help you to look at your rule more easily and familiarly:
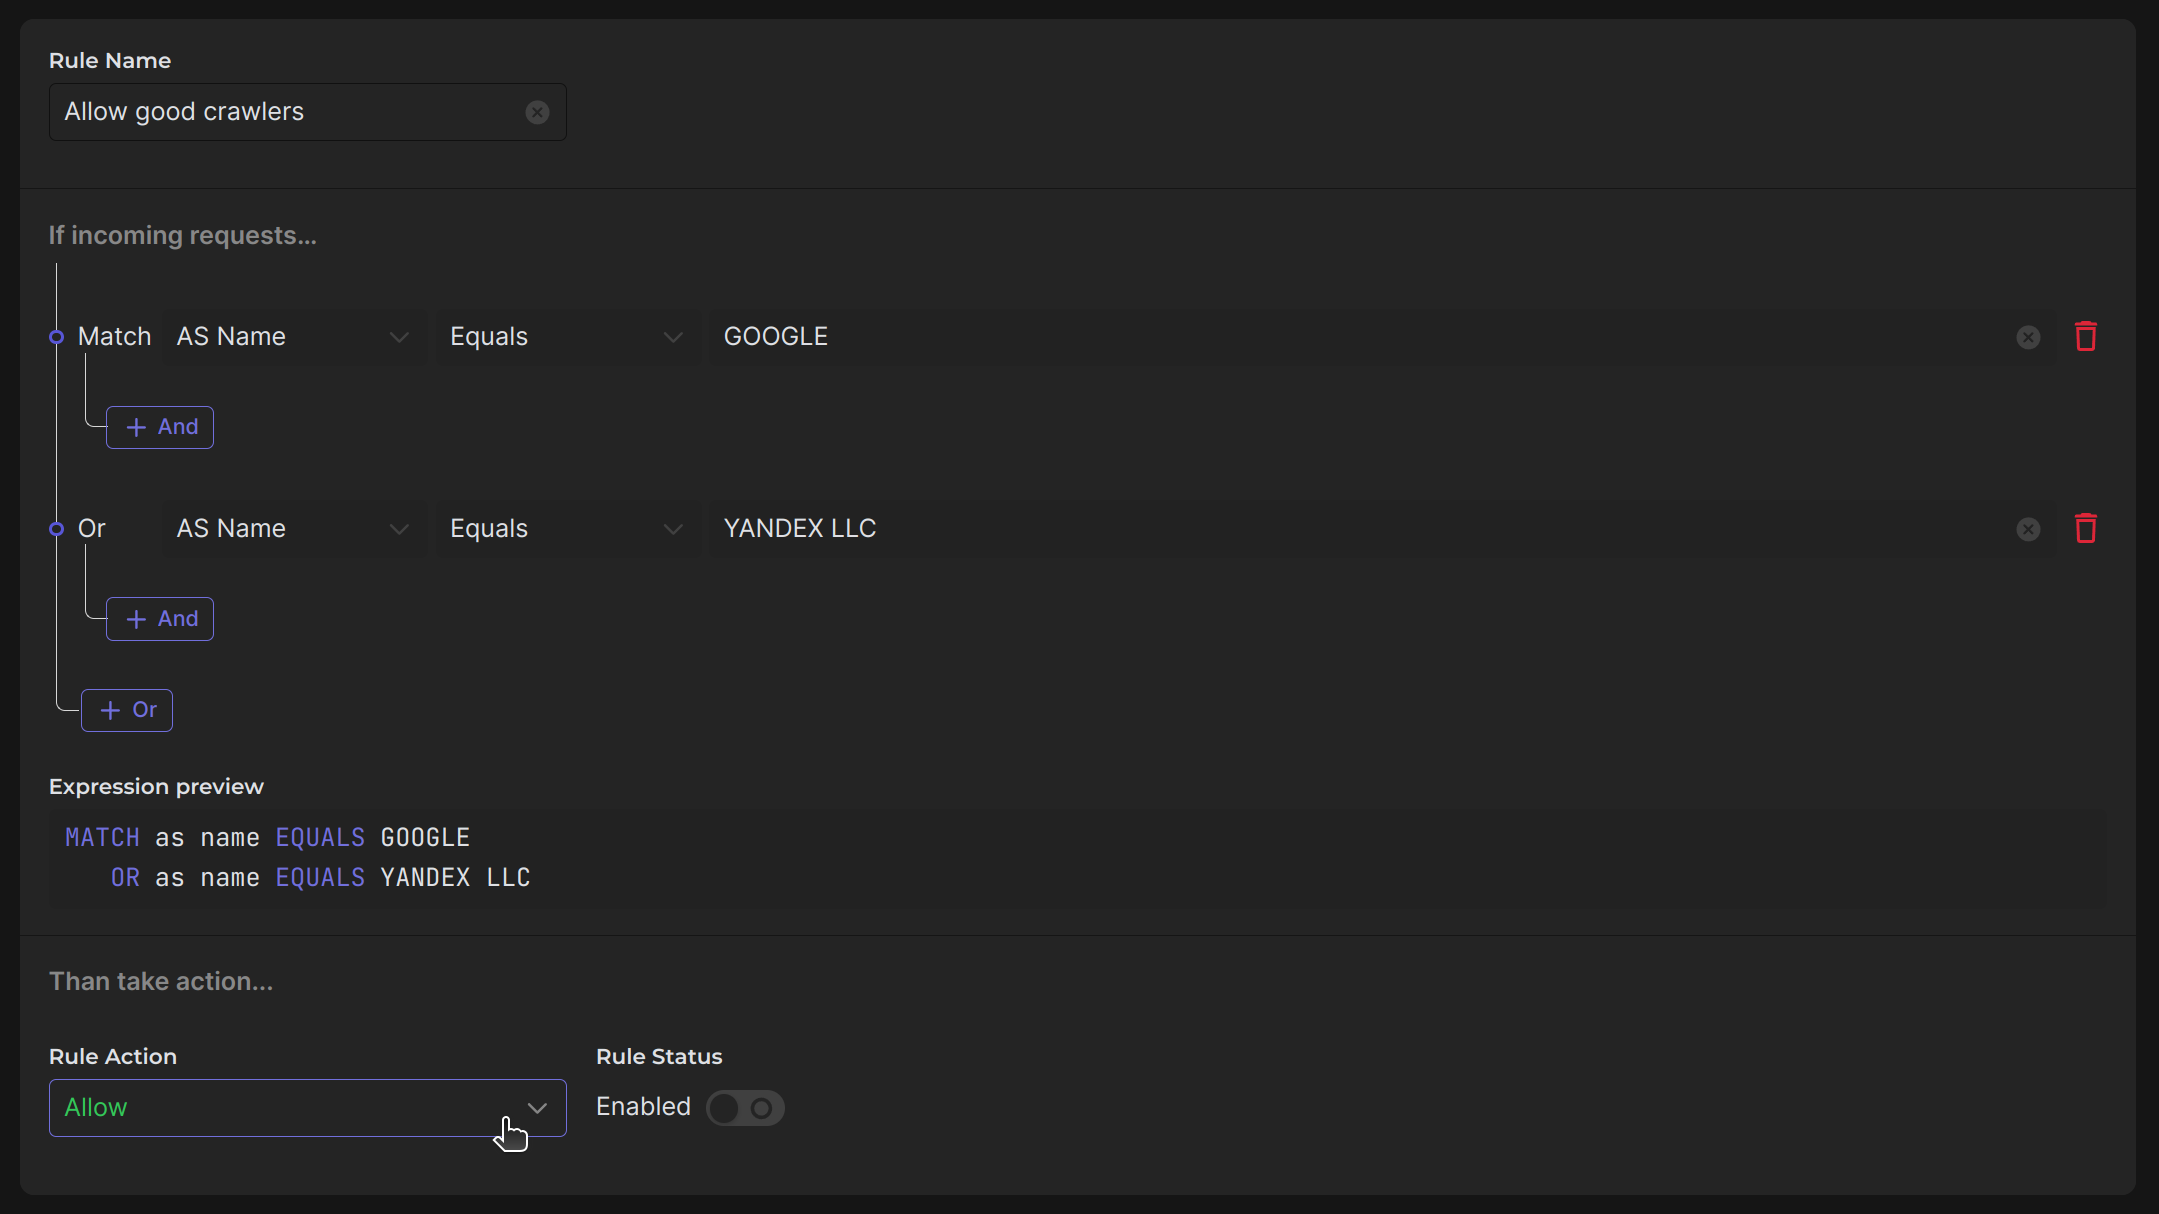
Click Create button, and the rule is ready!
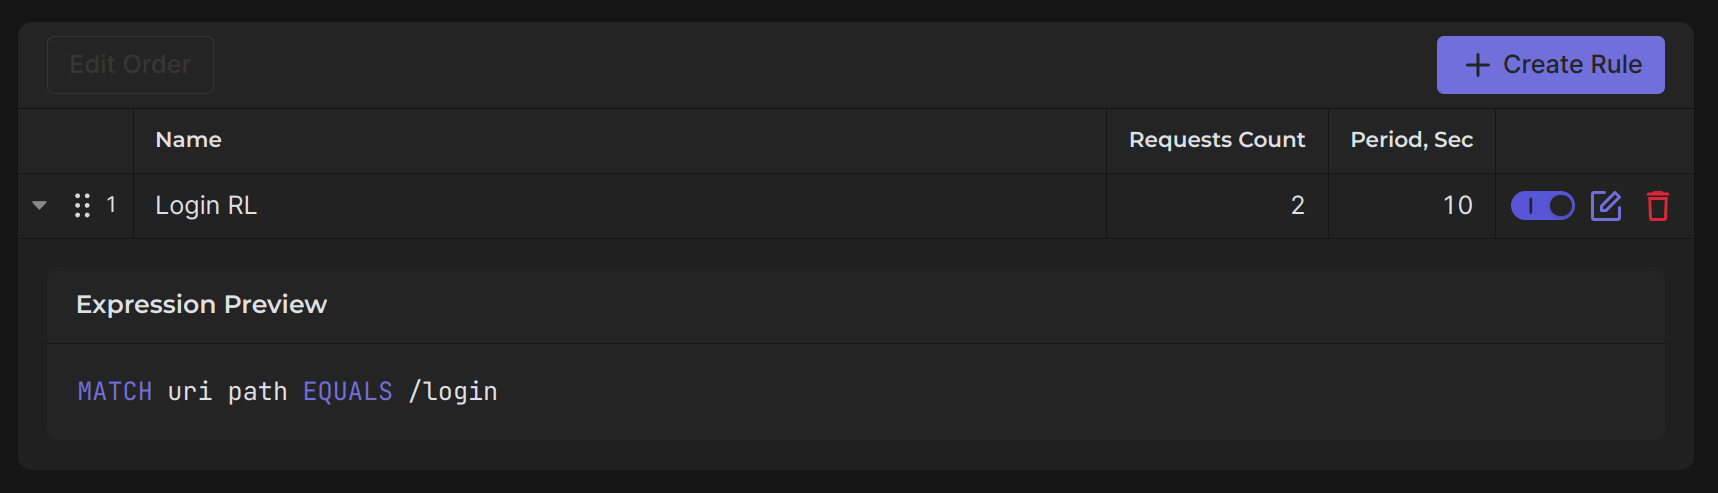
Rate Limiting Rules
The setup for Rate Limiting Rules is almost identical to Custom Rules, with some changes in how the table is displayed and the internal settings, as Requests Count & Period are added and other.
However, it's important to note that the essence of Rate Limiting Rules is completely different and has nothing in common with Custom Rules.
The functionality of rate limiting rules is responsible for determining the allowed or blocked quantity of requests within a specific time frame.
For example, Rate Limiter configured against Brute force attacks on login endpoint: